What you need
- A Mac with Apple Silicon (M1 or later). Bottari’s desktop app is macOS only for now — Windows is coming soon, and Intel Macs aren’t supported.
- Claude Code 2.1.306 or later, signed in to your Claude account. If it isn’t installed, Bottari can install it for you during setup (see step 4 below).
- A GitHub account to register repositories in a space, push or open PRs, and use the agent database. Sessions can also work in local folders without GitHub. You can skip GitHub during setup and connect it later.
Install
- Go to https://bottari.ai/download and download “Bottari for Mac”.
- Open the app.
Sign in
On the desktop, choose Continue with Google or Continue with GitHub. If you later sign in with another provider that gives the same verified email address, you land in the same account.First-time setup
If someone invited you, you first see the invitation (Join … or Join … as a guest, or You’ve been invited! when there are several). Accept takes you into their team. You can also create my own team instead. If you have no team yet (and aren’t a guest in another team), setup walks you through these main steps (an optional step for choosing space members can appear after step 3):- First, set up your team — name your team.
- Invite teammates to … — you can Skip this.
- Create your first space — a space holds channels, sessions, pages and databases.
- Connect Claude Code — press Connect. If Claude Code is missing, Bottari installs it, then opens the Claude sign-in in your browser. If you’re already signed in on this computer, this step is skipped. If it doesn’t work, use Connect in Terminal.
- Connect GitHub — Bottari signs you in with the GitHub CLI (
gh) and installs it if it’s missing. You can skip this step; skipping it also skips steps 6 and 7. You can disconnect any time in Settings › Account › Connections. - Which repositories should we connect? — pick repositories to register in the space. They aren’t downloaded yet. You can skip this.
- Hand your to-dos to an agent — shown only if you picked at least one repository. Choose an approval policy and press Get started to create an agent database (see Agent database), or Skip to go to the space.
Start your first session
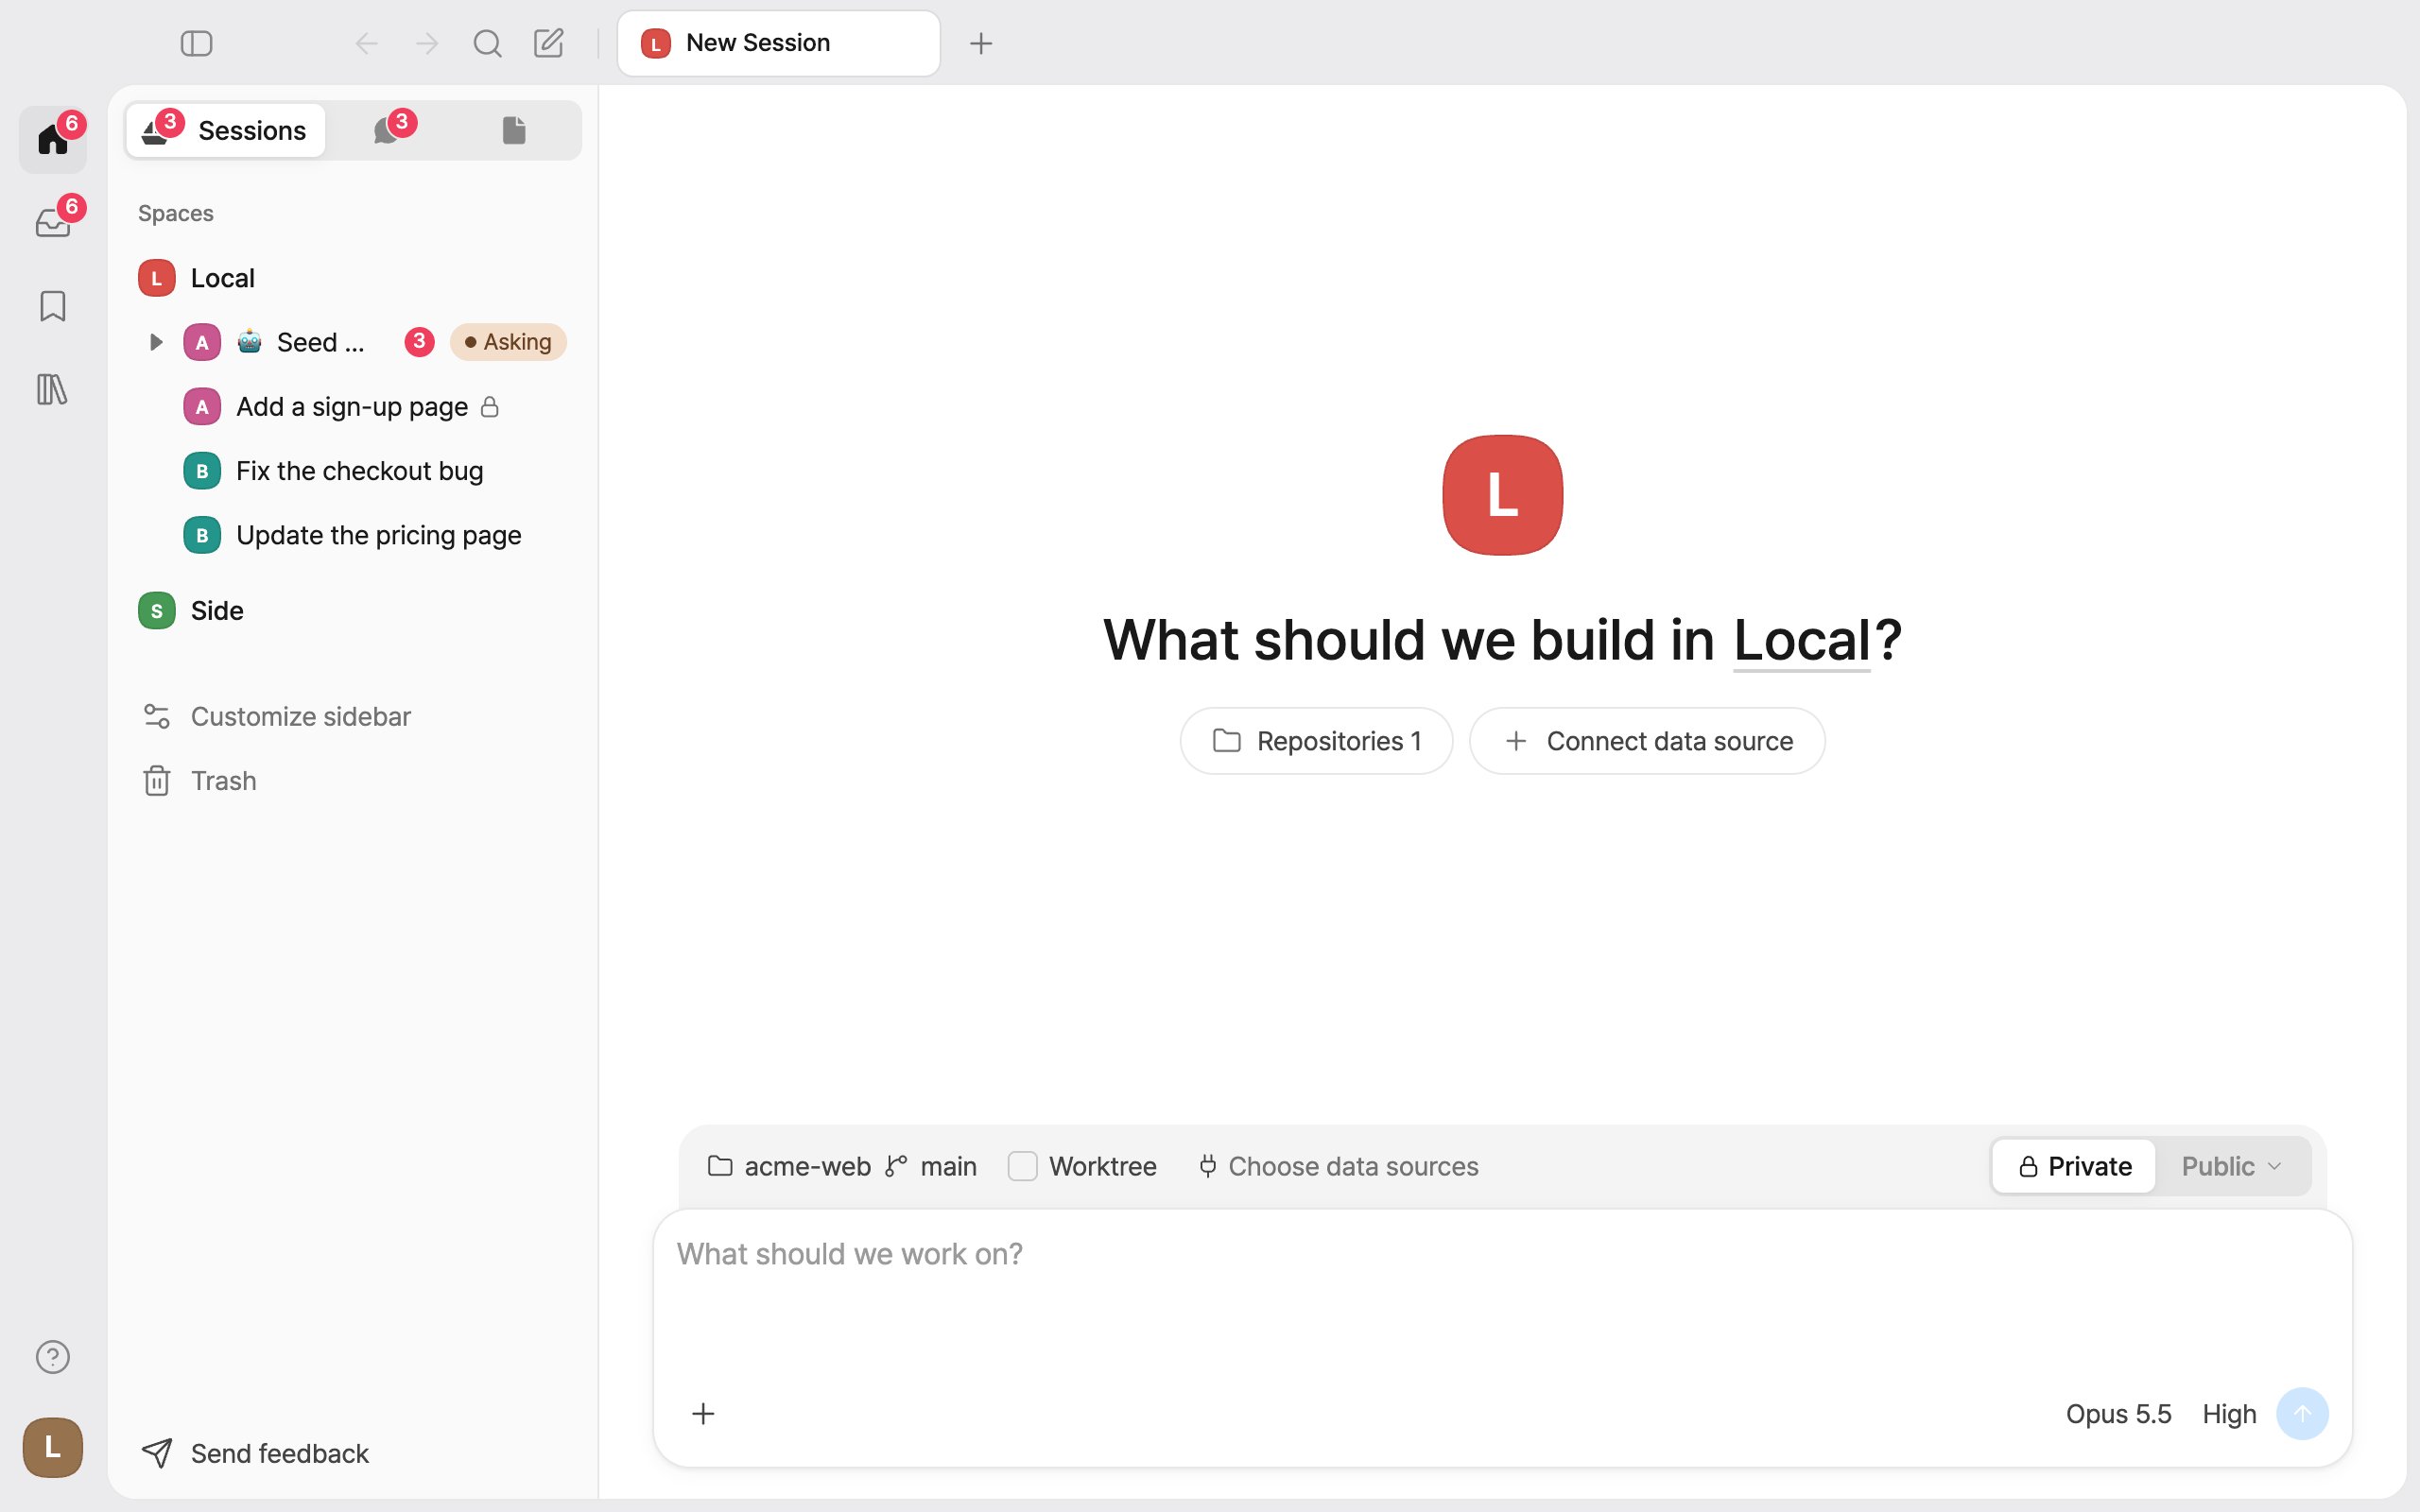
Press New session (the pen icon at the top, or ⌘O). You can also press + next to a space in the sidebar’s Sessions tab.